In this article I’m going to explain a nice code that works with attribute. It’s something quite a few people are using but it never crossed my mind to write something about it until my friends from 100pro asked for it.
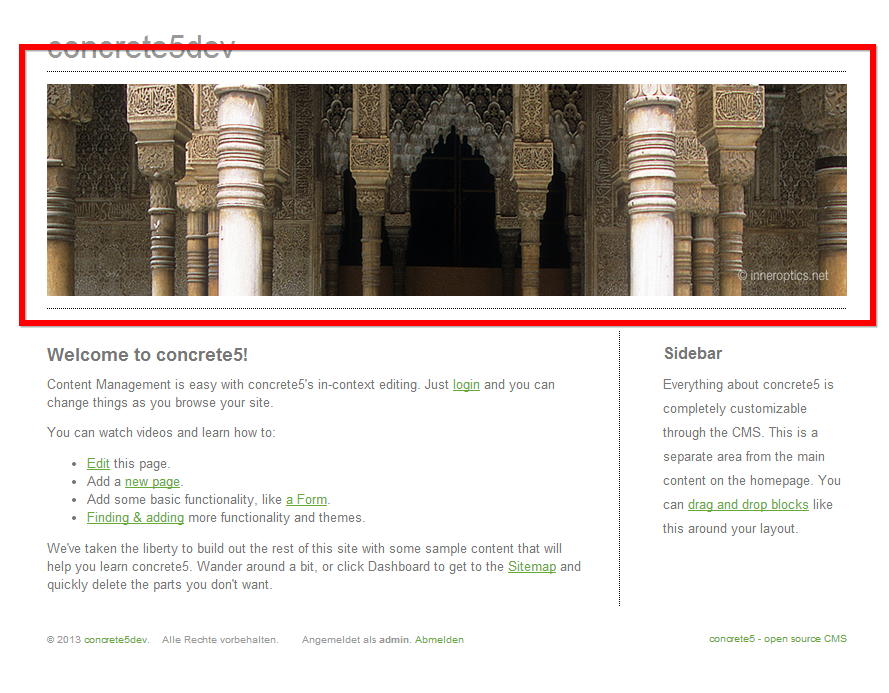
Let’s start with a quick look at the problem we’re going to solve. Our page layout is pretty simple, two columns, some content and in our case the most important part: A picture in the head of every page:
Assuming we’ve got the following structure in our sitemap:
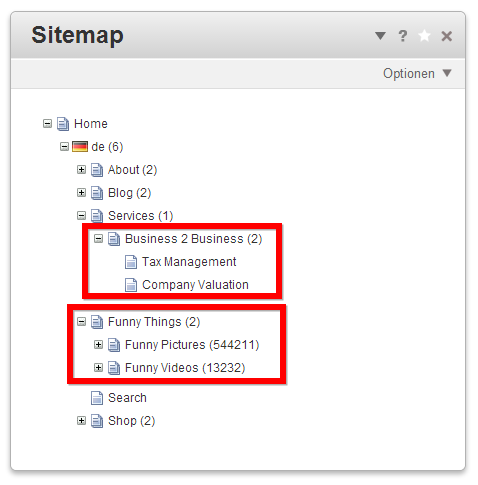
As you can see, this company has two slightly different offers on their site. Due to that, the boss wants to have different pictures that match the two topics. Easy, you might say, just add a block in the header of each page – until you notice that there are quite a few pictures & videos and thus lots of pages. Still easy you might say, why not create two page types and use the page type defaults to manage these pictures? Well, you could do that but using a page type for that feels wrong and sometimes it’s not that clear that you need two different pictures.
Silly story short: We want to specify a picture for “Business 2 Business” which is used on that page as well as all its children and we also want to specify a picture for “Funny Things” and its children.
Use an attribute from parent pages
We’re going to use an attribute to assign a picture to these two pages. If you’re logged in, open this page on your site: /dashboard/pages/attributes/. At the bottom, select “Image/File” and hit “Add”. Enter “header_pic” for handle and “Header Picture” for name.
Next, go back to the sitemap /dashboard/sitemap/full/ and click on “Business 2 Business” and then “Properties”. If you switch to “Custom Attributes” and scroll to the bottom, you’ll find our new attribute. Click on it and select a picture of your choice. Save everything and do the same for the second page “Funny Things”. Now that we’ve assigned the two pictures to our pages, it’s time to do the coding.
Fetch attribute from parent pages
This step might look slightly different depending on your theme but should be farily easy to adapt with a basic understand of HTML. The header area you want to replace with the picture selected in the attribute is mostly likely found in elements/header.php of your theme. In my case, the part we have to modify looks like this:
1 2 3 4 5 6 7 8 9 10 | <div id="header-area"> <div class="divider"></div> <div id="header-area-inside"> <?php $ah = new Area('Header'); $ah->display($c); ?> </div> <div class="divider"></div> </div> |
Looks have a look at the comment code that replaces the code above:
1 2 3 4 5 6 7 8 9 10 11 12 13 14 15 16 17 18 19 20 21 22 23 24 25 26 27 28 29 30 31 32 33 34 35 36 37 | <div id="header-area">
<div class="divider"></div>
<div id="header-area-inside">
<?php
$nh = Loader::helper('navigation');
$ih = Loader::helper('image');
$c = Page::getCurrentPage();
// get list parent pages of current page
$collectionTrail = $nh->getTrailToCollection($c);
// add current page to array
array_unshift($collectionTrail, $c);
// loop through all the pages back to the home page
foreach ($collectionTrail as $page) {
// get attribute from page
$picture = $page->getAttribute('header_pic');
// check if attribute on page exists
if ($picture instanceof File) {
// make sure the picture isn't bigger than 800x300, cameras
// these days take huge pictures
$thumbnail = $ih->getThumbnail($picture, 800, 300, true);
// print thumbnail
echo "<img src=\"{$thumbnail->src}\" alt=\"\"/>";
// stop searching through more pages
break;
}
}
?>
</div>
<div class="divider"></div>
</div> |
This code uses the navigation helper to get a list of all the parent pages and then loops through all of them until a page is found where the attribute with the handle “header_pic” has a valid file. In this case, we replaced the existing area but you can of course also keep it and add the code shown above as an extension.
The method “getTrailToCollection” is usually used to build a breadcrumb like navigation. There’s an autonav template called “breadcrumb” that does that as well but if you wonder how to create a breadcrumb navigation with code, here’s an example:
1 2 3 4 5 6 | $nh = Loader::helper('navigation');
$c = Page::getCurrentPage();
$collectionTrail = array_reverse($nh->getTrailToCollection($c));
foreach ($collectionTrail as $page) {
echo "<a href=\"{$nh->getLinkToCollection($page)}\">{$page->getCollectionName()}</a> ";
} |
I hope you were able to get nice pictures with little effort into your site! If not, post a comment and I’ll do my best to get it fixed!
No Comments
You can leave the first : )